
473 字
2 分钟
[进阶]Remnawave节点管理面板-落地篇
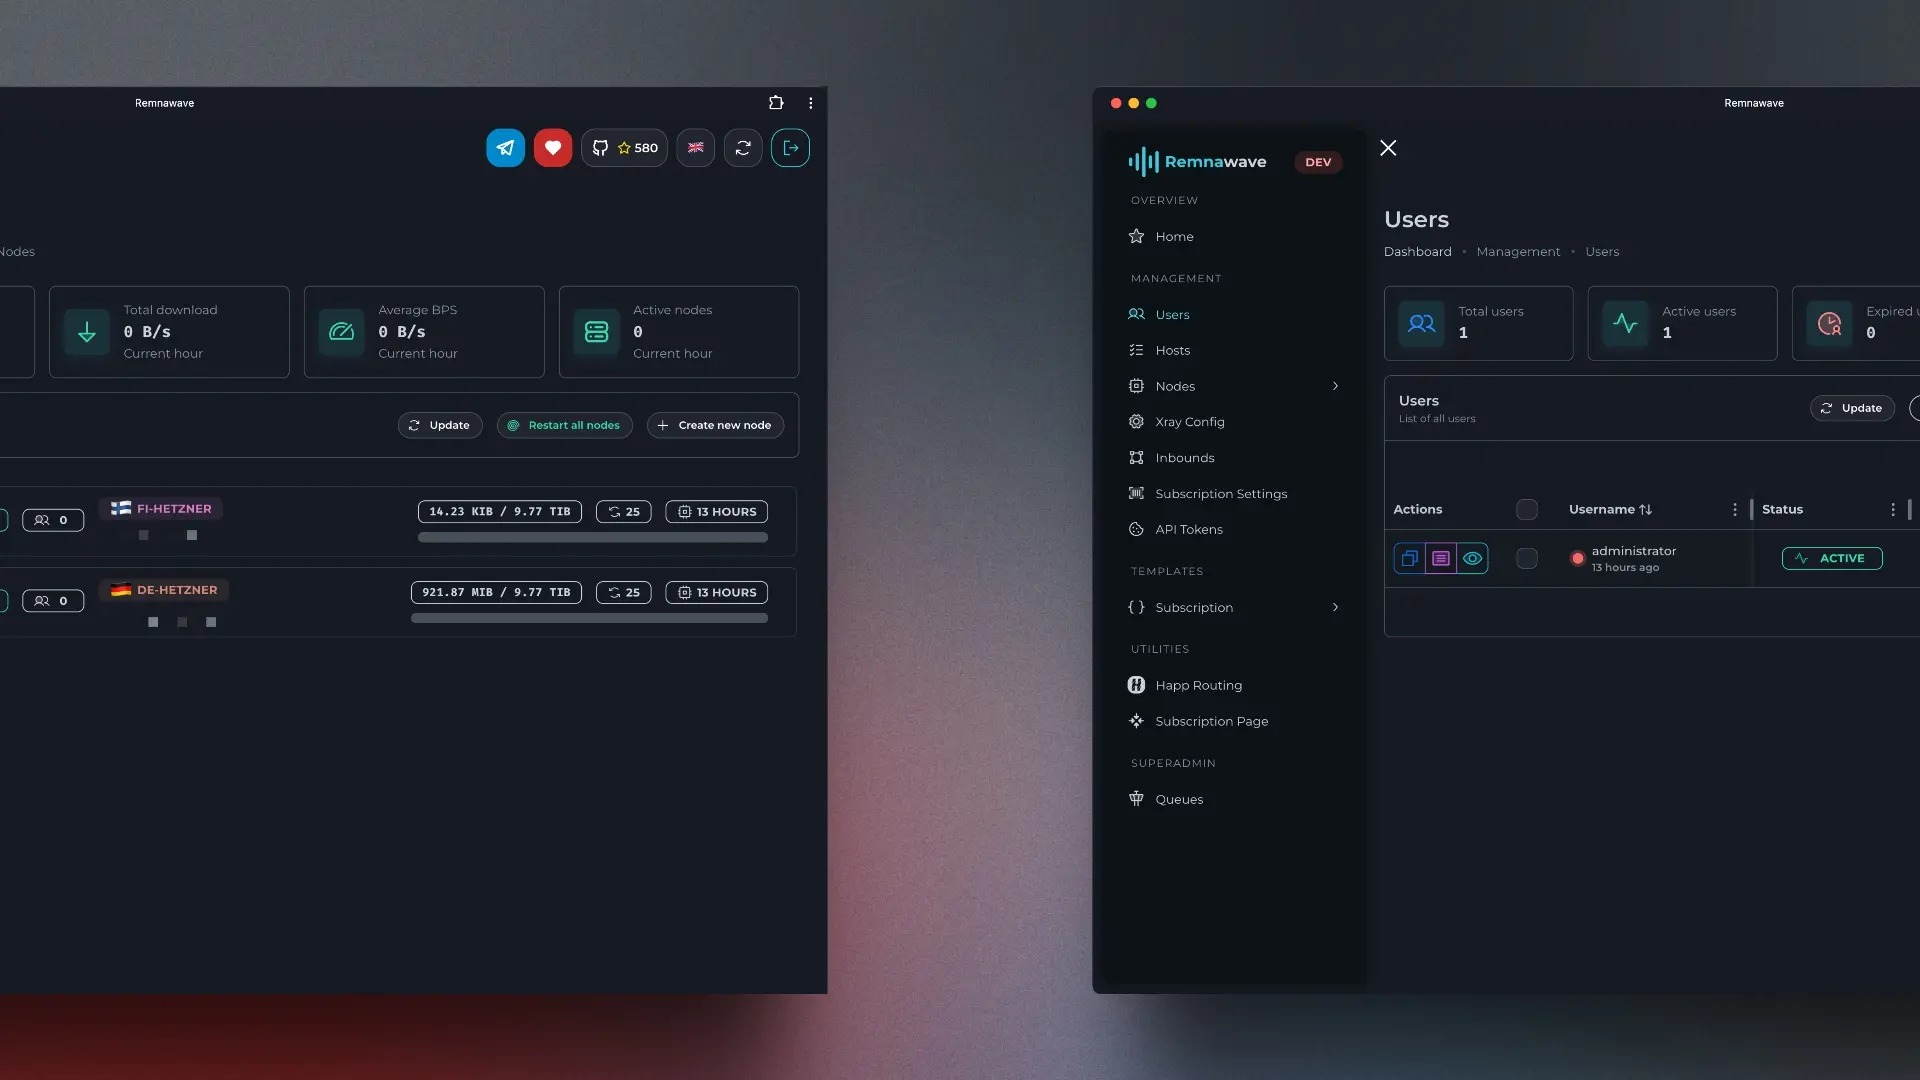
落地篇是指在Remna节点管理面板中配置落地节点,用于转发流量。
搭建落地节点
本人习惯使用3xui搭建落地节点
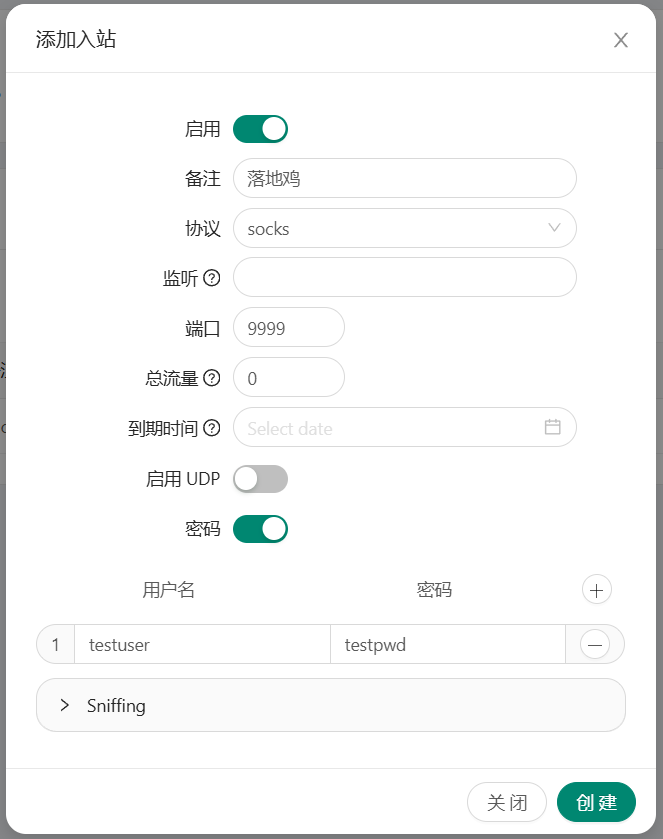
新建socks5入站
- 入站协议:socks
- 监听端口:9999 #随机即可
- 密码:开启
- 用户名:testuser
- 密码:testpwd
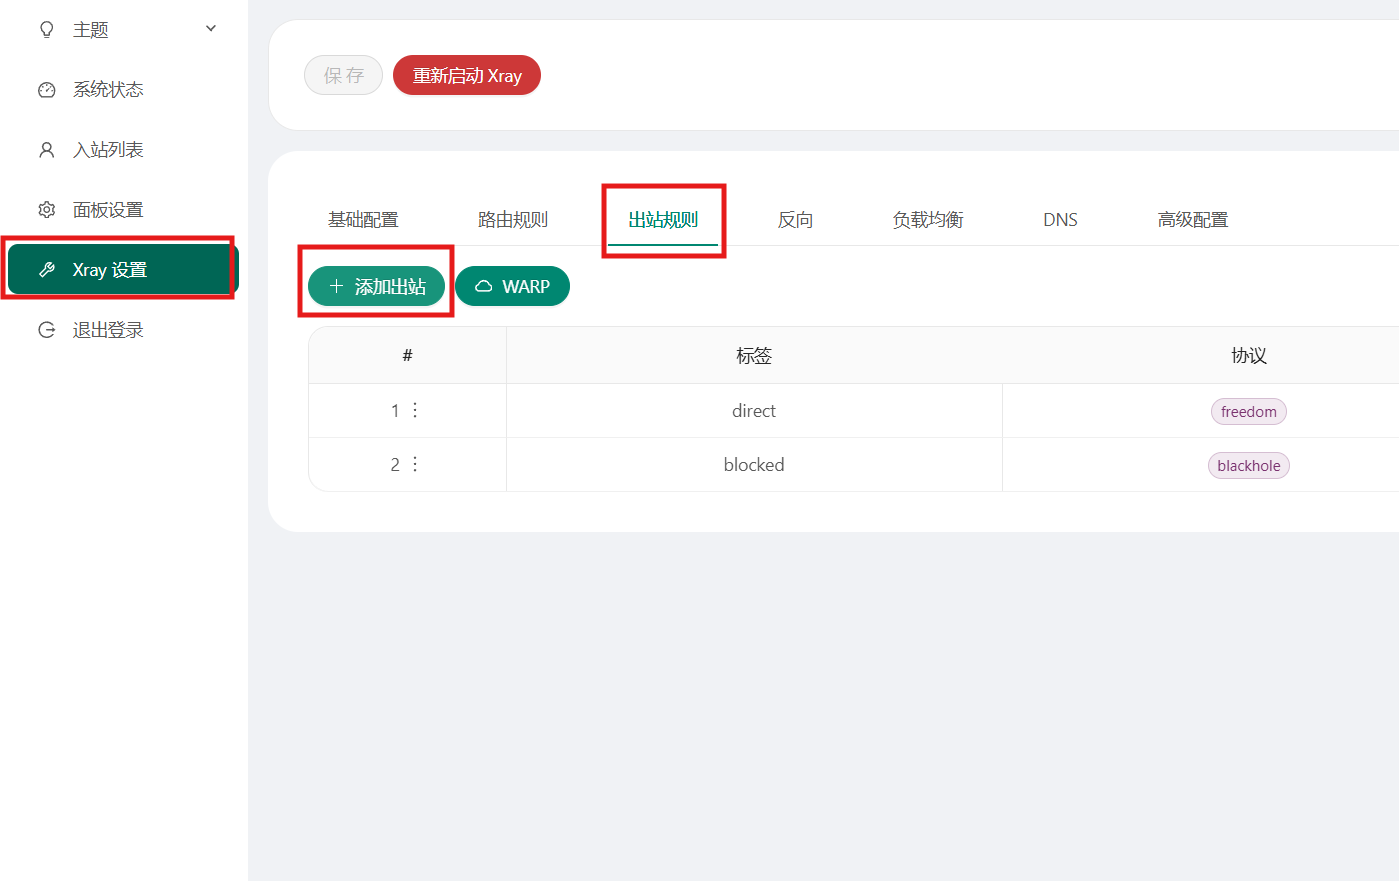
快捷获取出站配置
左侧导航栏 Xray设置->出站规则->添加出站 ,这里就有老铁问了,我落地鸡添加什么出站?
其实是利用3xui的工具来获取配置参数,不用快捷工具徒手搓这简直唐的没边了!
 填入刚刚新建的socks5入站配置参数
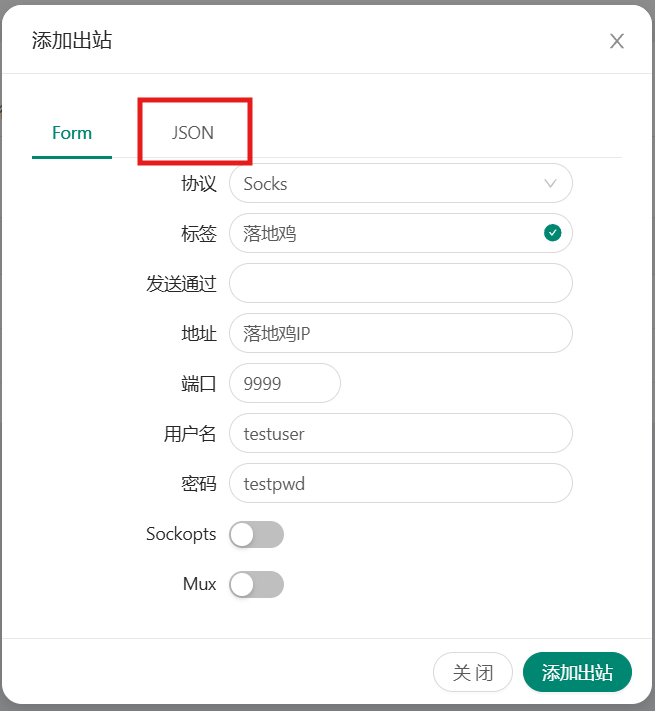 点击
点击 JSON选项卡,复制出配置参数
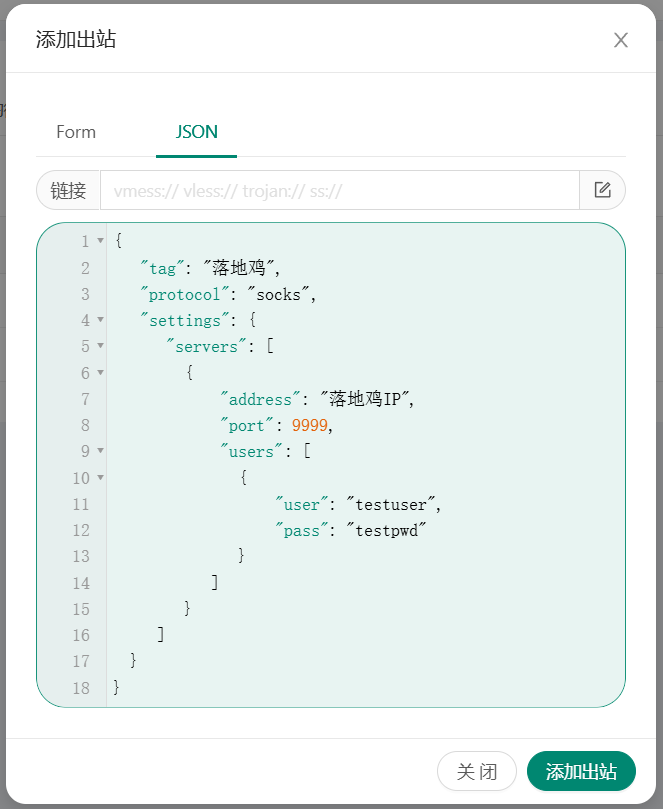
{ "tag": "落地鸡", "protocol": "socks", "settings": { "servers": [ { "address": "落地鸡IP", "port": 9999, "users": [ { "user": "testuser", "pass": "testpwd" } ] } ] }}这里算是完成落地鸡的配置,后面就可以在Remna节点管理面板中配置中转节点了。
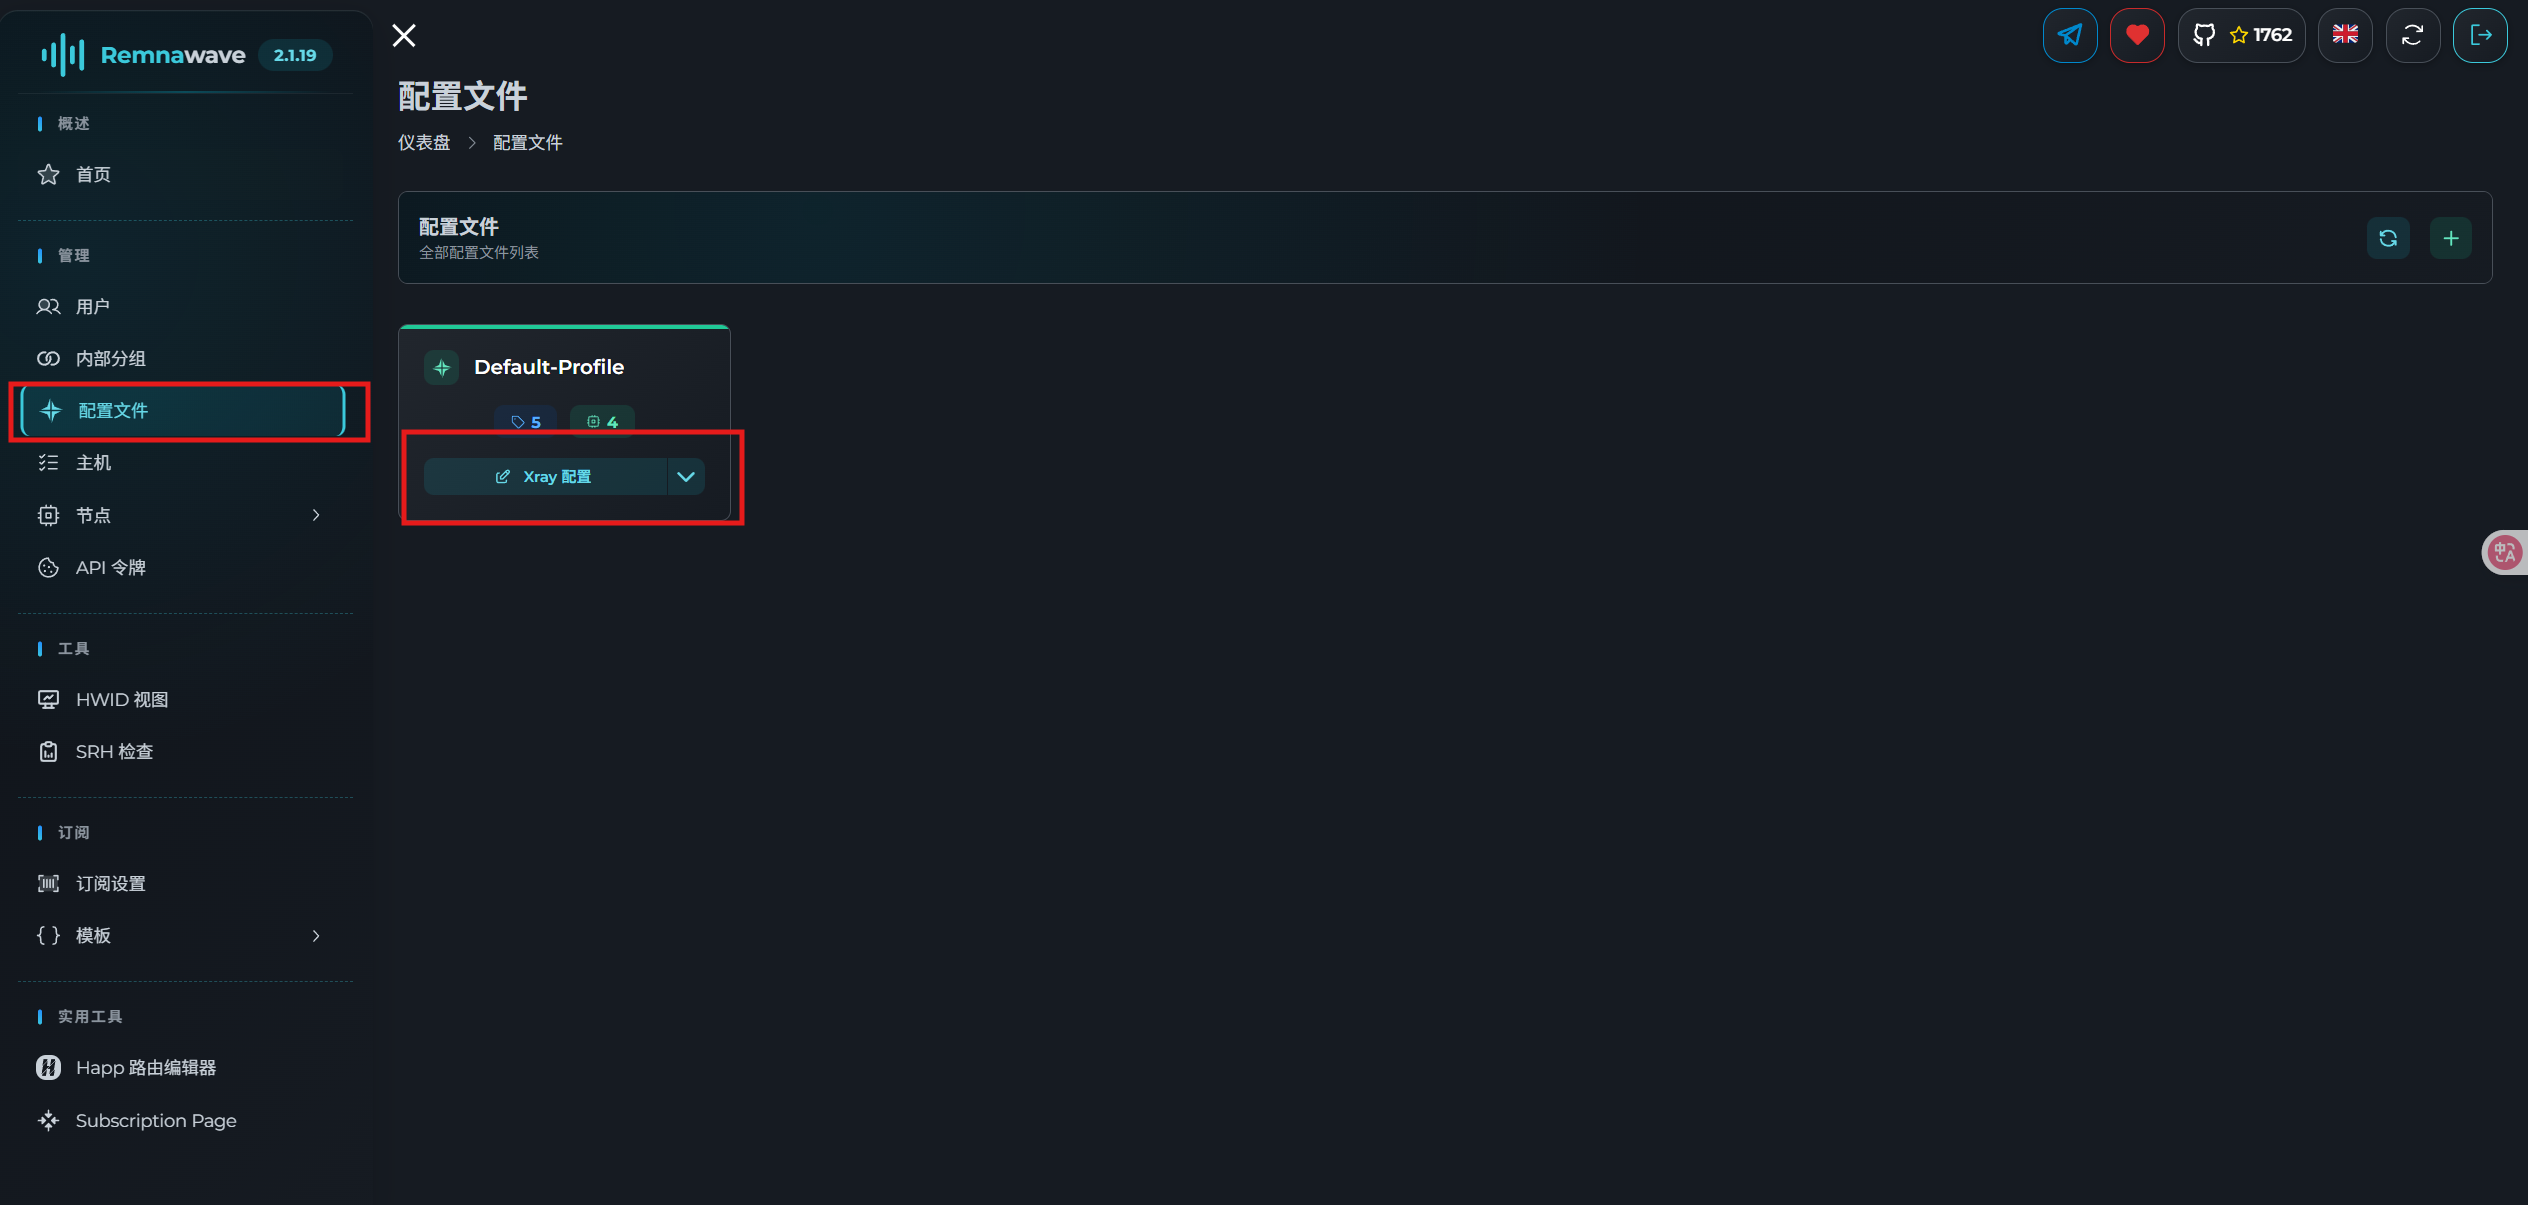
修改Remna节点配置
先进入Xray设置
{ "log": { "loglevel": "info" }, "inbounds": [ { "tag": "test1",39 collapsed lines
"port": 30004, "protocol": "vless", "settings": { "clients": [], "decryption": "none" }, "sniffing": { "enabled": true, "destOverride": [ "http", "tls", "quic" ] }, "streamSettings": { "network": "tcp", "security": "reality", "realitySettings": { "dest": "www.amd.com:443", "show": false, "xver": 0, "spiderX": "", "shortIds": [ "42aeec", "66c8bd6b1002427d", "5a1f", "6c", "adfb6126", "ce557a621e", "5fc062b8b4c2b9", "e4cfaf01e274" ], "publicKey": "3FB5YuwJgxCbQurerSwjhXDIHAB_SRdyecd5XLhtwE0", "privateKey": "m5mIb4EXjqkcfDDHRW_pU7Vz-hehwNgR5Hi2HFCO4S0", "serverNames": [ "www.amd.com" ] } } } ], "outbounds": [ { "tag": "落地鸡", "protocol": "socks", "settings": { "servers": [ { "address": "落地鸡IP", "port": 9999, "users": [ { "user": "testuser", "pass": "testpwd" } ] } ] } }, { "tag": "DIRECT", "protocol": "freedom" }, { "tag": "BLOCK", "protocol": "blackhole" } ], "routing": { "rules": [ { "type": "field", "inboundTag": [ "test1", ], "outboundTag": "落地鸡" }, { "ip": [17 collapsed lines
"geoip:private" ], "type": "field", "outboundTag": "BLOCK" }, { "type": "field", "domain": [ "geosite:private" ], "outboundTag": "BLOCK" }, { "type": "field", "protocol": [ "bittorrent" ], "outboundTag": "BLOCK" } ] }}点击下方保存,开始奔放吧!
发现错误或想要改进这篇文章?
在 GitHub 上编辑此页 [进阶]Remnawave节点管理面板-落地篇
https://jk.sb/posts/remna-install-3/